Installing an air conditioning (AC) unit in your motorhome is a practical way to ensure comfort during your travels. Whether you’re parked under the summer sun or camping in a warm climate, a well-installed AC system can make all the difference. Here’s a step-by-step guide to help you understand the process of installing a motorhome AC unit.
1. Choose the Right AC Unit
Before installation, selecting the appropriate air conditioning unit for your motorhome is crucial. Consider the following:
- Roof-Mounted Units: Roof-mounted units are the most popular for motorhomes as they save interior space and provide effective cooling.
- BTU Rating: Ensure the unit’s cooling capacity (measured in BTUs) matches your motorhome’s size.
- Power Source: Verify whether the unit runs on your motorhome’s electrical system or requires an additional generator.
2. Prepare the Roof for Installation
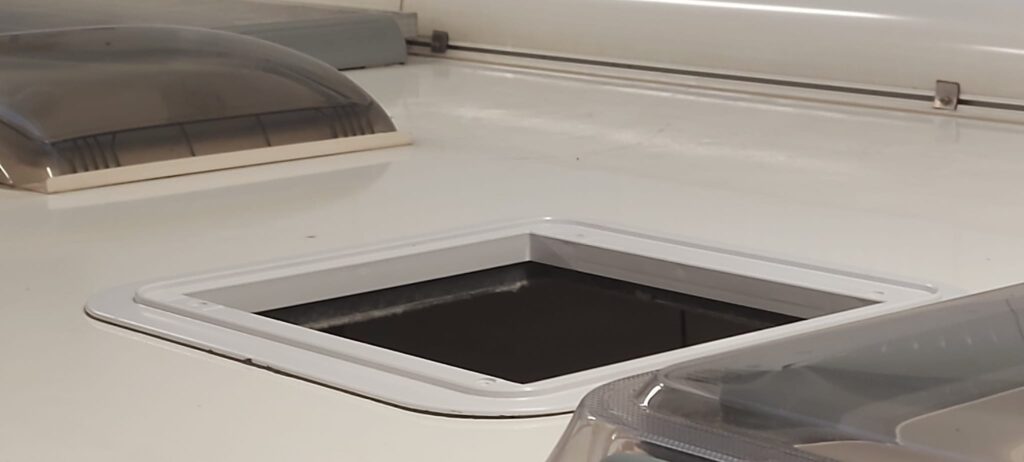
Most roof-mounted AC units require a standard 14×14-inch opening. If your motorhome already has a vent or fan installed, you can use this existing opening. Otherwise, you may need to create a new opening:
- Measure and Mark: Use the AC unit’s template to mark the area on the roof.
- Cut the Opening: Carefully cut the marked area using a jigsaw or similar tool. Ensure the edges are clean and smooth.
- Reinforce the Area: Add support beams around the opening to ensure the roof can handle the AC unit’s weight.
3. Install the AC Unit
Once the roof is prepared, you can begin installing the AC unit:
- Position the AC Unit: Place the AC unit over the opening and align it carefully.
- Secure the Unit with Clamp Brackets: Use the provided clamp brackets to fasten the AC unit to the roof securely. Follow the manufacturer’s instructions for proper installation.
- Seal the Edges: Apply a weatherproof sealant around the edges to prevent leaks.
4. Connect the Electrical Wiring
Most AC units come with a wiring harness that connects to your motorhome’s electrical system. Here’s how to connect it:
- Switch Off Power: Ensure the motorhome’s power supply is turned off.
- Run a 240V Cable: Feed a 240V electrical cable through the roof lining to the AC unit. Ensure the cable is properly insulated and secured.
- Connect the Wires: Match the wires from the AC unit to the motorhome’s electrical system following the color-coded instructions.
- Secure the Connections: Use wire nuts or connectors to secure the connections and prevent short circuits.
5. Test the AC Unit
After installation, test the AC unit to ensure it’s working properly:
- Power On: Turn on the power supply and activate the AC unit.
- Check Airflow: Verify that the unit is cooling effectively and the airflow is consistent.
- Inspect for Leaks: Check the seal around the unit to ensure there are no water or air leaks.
6. Final Touches
Once the AC unit is operational:
- Secure the Interior Cover: Attach the interior panel or cover provided with the unit.
- Clean Up: Remove any debris or tools from the installation area.
- Regular Maintenance: Schedule periodic maintenance to keep the AC unit running efficiently.
Professional Installation
While installing an AC unit yourself can save money, it’s a complex task requiring precision and expertise. If you’re unsure about any step, consider hiring a professional to ensure a safe and effective installation.
Conclusion
Installing an AC unit on your motorhome is a worthwhile investment that enhances comfort during your travels. By following this guide or seeking professional help, you can enjoy a cool and relaxing environment, no matter where the road takes you.

